
How to Upgrade Your Living Room Window Without Spending a Fortune
You don’t need to replace your living room window to make it look better. In most homes, the biggest improvement comes from changing how the window is framed, how much natural light it lets in, and how it fits with the rest of the room.
If you’re working with a limited budget, start with these upgrades in this order:
- Hang curtain rods higher and wider than the window frame.
- Replace thin or outdated curtain rods with sturdier ones.
- Use floor-length curtains that fit the window properly.
- Add a roller shade or decorative window film if privacy or glare is the problem.
- Freshen up worn window trim with paint instead of replacing the entire frame.
None of these projects require major renovations, and most can be done in an afternoon.
The challenge isn’t finding affordable ideas. It’s knowing which upgrade will actually make a difference in your living room. Spending $50 on the wrong fix won’t improve the space any more than spending $500.
That’s why the first step isn’t buying new curtains or browsing home décor stores. It’s figuring out what’s making your window look dated in the first place.

Before You Spend Money, Find the Real Problem
Most living room windows fall into one of four categories. Once you know which one matches yours, choosing the right upgrade becomes much easier.
Your window looks smaller than it actually is
This is probably the most common problem.
The window itself might be perfectly fine, but everything around it makes it feel cramped. Curtain rods mounted directly above the frame, narrow curtain panels, or furniture pushed too close to the window can all make the glass seem smaller than it really is.
The cheapest fix
Raise the curtain rod about 10 to 12 inches above the window if your wall allows it, and extend the rod several inches past both sides of the frame.
Why does this work?
Your eyes don’t measure the glass. They follow the curtain rod. A wider and higher rod creates the illusion of a larger window, even though nothing about the window has changed.
It’s one of the few upgrades that costs very little but makes the whole room feel bigger.
Skip this if: Your windows already reach close to the ceiling. In that case, raising the rod won’t have much effect.
Your living room feels dark even during the day
Many homeowners blame the window when the real problem is what’s blocking it.
Heavy blackout curtains, dark fabrics, oversized plants, or furniture placed too close to the glass can all reduce the amount of daylight entering the room.
Before buying anything, open the curtains completely on a sunny day and take another look around the room.
If the space suddenly feels brighter and more open, you’ve already found the problem.
The cheapest fix
Swap heavy curtains for lighter fabrics or add a simple light-filtering roller shade behind your existing curtains.
During the day, the roller shade softens harsh sunlight without making the room feel closed in. At night, you can still close the curtains for privacy.
This setup costs far less than replacing the window and gives you more control over both light and privacy.
Skip this if: Your living room already gets very little natural light because of nearby buildings or large trees. In that situation, focus on making the window look larger instead of trying to force in more daylight.
Your window looks cheap because of the hardware
This one surprises a lot of people.
When homeowners decide to upgrade their windows, they usually focus on the fabric. Meanwhile, the curtain rod has probably been there since the house was built.
Thin rods, plastic brackets, bent hardware, or tiny finials can make even expensive curtains look inexpensive.
The cheapest fix
Replace the curtain rod before replacing the curtains.
Choose a rod that’s slightly thicker than your old one and extends beyond the sides of the window. Matte black, brushed nickel, and warm brass are all safe choices because they work with most decorating styles.
You don’t need designer hardware. You just need something that looks intentional.
In many living rooms, replacing the rod creates a bigger improvement than replacing the curtains themselves.
Your window isn’t the problem. The frame is.
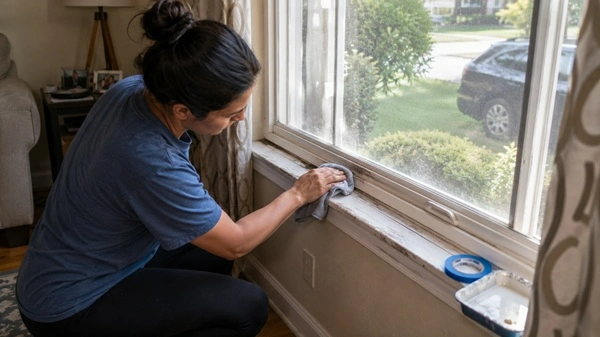
Sometimes the glass is clean, the curtains fit well, and the hardware looks fine, but the window still feels old.
Take a closer look at the frame.
Are there chipped paint edges?
Yellowing caulk?
Water stains?
Scratches on the trim?
These small flaws catch the eye more than most homeowners realize because they’re right where daylight hits.
The cheapest fix
If the frame is wood, sanding rough spots and applying a fresh coat of paint can make it look years newer.
If the frame is aluminum or vinyl, cleaning years of dirt from the tracks and corners often has a surprisingly big impact. Most people clean the glass regularly but rarely pay attention to the frame itself.
It’s not the most exciting weekend project, but it’s one of the most satisfying because the improvement is immediate.

Which Upgrade Should You Do First?
If you’re still unsure where to begin, use this simple guide.
| If your window… | Start here |
|---|---|
| Looks too small | Raise and widen the curtain rod |
| Makes the room feel dark | Improve light control with lighter curtains or a roller shade |
| Looks outdated | Replace the curtain rod and hardware |
| Looks worn or neglected | Paint or clean the frame and trim |
Notice that none of these recommendations involve replacing the window itself.
That’s because in most living rooms, the window isn’t what makes the space feel dated. It’s everything around it.
Now that you know which problem you’re trying to solve, the next step is choosing upgrades that give the biggest visual improvement for the least amount of money—and avoiding the ones that sound good online but rarely make a noticeable difference in real homes.
The Best Budget Window Upgrades, Ranked by Visual Impact
Not every upgrade gives the same result.
Some projects cost less than a family dinner but completely change how the room looks. Others take an entire weekend and barely make a noticeable difference.
If your goal is to get the biggest improvement without spending more than necessary, start from the top of this list and work your way down.
1. Raise and Widen Your Curtain Rod
Estimated cost: Low
Difficulty: Easy
Visual impact: ★★★★★
If you only have enough money for one upgrade, make it this one.
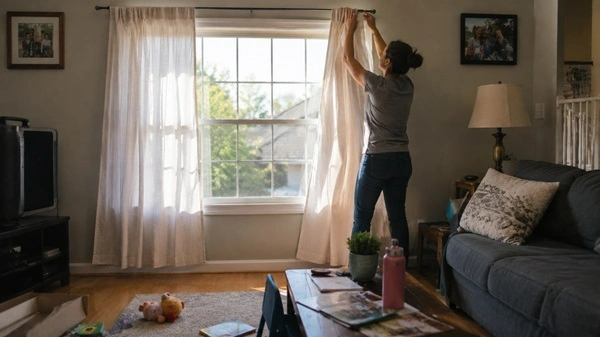
A curtain rod that’s mounted just above the window frame makes the entire window look shorter than it really is. The curtains also cover part of the glass even when they’re fully open, which means less daylight enters the room.
By moving the rod higher and extending it beyond both sides of the frame, two things happen immediately.
First, your eyes follow the higher curtain line, making the ceiling appear taller.
Second, the curtains can slide completely off the glass instead of blocking part of it. That lets in more natural light and makes the window feel wider.
Neither of those changes requires replacing the window.
How high should you hang the rod?
There’s no single measurement that works for every home.
As a general guide, leave enough space above the window so the curtains don’t crowd the frame. If your ceiling is fairly standard, mounting the rod around 10 to 12 inches above the window usually creates a balanced look.
If your windows already sit close to the ceiling, place the rod just a few inches below the ceiling instead. The goal isn’t to follow an exact measurement. It’s to make the wall feel taller.
Common mistake
Many homeowners buy longer curtains without moving the rod.
That usually makes the room look almost identical because the eye still stops at the original curtain rod height.
If you’re replacing curtains anyway, move the rod first.
2. Replace the Curtain Rod Before You Replace the Curtains
Estimated cost: Low to Medium
Difficulty: Easy
Visual impact: ★★★★☆
This upgrade surprises most people because it’s easy to overlook.
Take a close look at your curtain rod.
Is it thin?
Does it sag slightly in the middle?
Are the brackets plastic?
Do the ends look like simple caps that came with the house?
If you answered yes to any of those questions, replacing the rod will probably make a bigger difference than buying new curtains.
Think of it like putting worn-out wheels on a brand-new car. Even if the rest looks good, those small details affect the overall impression.
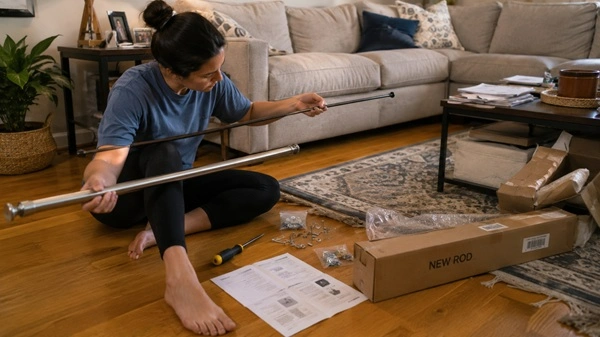
A thicker rod with sturdy brackets makes the curtains hang straighter and gives the entire window a more finished look.
You don’t need expensive designer hardware either. Many affordable matte black, brushed nickel, or wood-finish rods look just as good once they’re installed properly.
Spend a little more on the right part
If your budget is limited, spend the extra money on strong brackets instead of decorative finials.
Good brackets keep the rod straight over time, especially if you’re using heavier curtains.
People rarely notice fancy finials.
They do notice a rod that’s bending in the middle.
3. Use Curtains That Actually Fit the Window
Estimated cost: Medium
Difficulty: Easy
Visual impact: ★★★★★
This is where many living rooms lose their potential.
Walk into any home décor store, and you’ll find ready-made curtains in standard lengths.
The problem is that windows aren’t standard.
Some homeowners buy the first size they find because it’s cheaper or immediately available. The result is curtains that stop several inches above the floor or barely cover the sides of the window.
Both make the room feel unfinished.
Instead, choose curtains that almost touch the floor or lightly rest on it. They create one continuous vertical line, which naturally makes the walls seem taller.
Width matters too.
When the curtains are closed, they should still have gentle folds instead of being stretched flat across the window.
If the fabric looks tight when closed, the panels are probably too narrow.
Don’t assume expensive fabric is better
A well-sized polyester curtain usually looks better than an expensive linen curtain that’s too short.
People notice proportions before they notice material.
Getting the size right should always come before upgrading to premium fabric.
4. Control the Light Instead of Blocking It
Estimated cost: Low to Medium
Difficulty: Easy
Visual impact: ★★★★☆
Many homeowners think they have only two choices.
Curtains open.
Curtains closed.
That works, but it isn’t always practical.
If afternoon sunlight creates glare on the TV or makes the room uncomfortably warm, you’ll probably keep the curtains closed most of the day.
Now you’ve solved one problem but created another.
The room feels darker.
Instead, think about controlling daylight instead of blocking it.
A simple roller shade or light-filtering blind lets sunlight enter while reducing glare and giving you privacy during the day.
You can leave the curtains open so the room still feels bright, then close the curtains only in the evening.
This layered setup is one of the easiest ways to make a living room feel more comfortable without spending a lot of money.
Is this worth it if you already have blinds?
Usually, yes.
Basic blinds control light.
Curtains soften the room.
Using both gives you flexibility throughout the day without making the window look crowded.
Before You Spend Another Dollar…
By now, you’ve probably noticed something.
None of the best upgrades involve replacing the glass.
That’s because most living room windows don’t look outdated. After all, they’re old.
They look outdated because of how they’re dressed, how they’re framed, or how they interact with the rest of the room.
Fixing those issues first often saves hundreds—or even thousands—of dollars.
The next upgrades aren’t always necessary, but in the right home they can add the finishing touches that make a window feel thoughtfully designed instead of simply functional.

Before You Buy Another Window Upgrade, Make Sure It’s Worth It
By this point, you’ve probably noticed a pattern.
The best upgrades don’t always cost the most. In fact, some of the cheapest changes have the biggest impact because they fix the first thing people notice when they look at a window.
The opposite is also true.
Some popular window upgrades look great in photos but don’t make much difference once they’re installed. Others only work in certain types of homes.
Before spending more money, here’s how to tell which upgrades are worth considering—and which ones you can probably skip.
Decorative Window Film: Great for Some Homes, Unnecessary for Others
Worth it if:
- Your living room faces a busy street.
- Neighbors can easily see inside.
- You want more privacy without blocking daylight.
Decorative window film is one of the few upgrades that solves a real problem while also improving how the window looks.
Unlike heavy curtains that darken the room, frosted or patterned films let sunlight pass through while making it harder for people outside to see in.
They’re also removable, which makes them a good option if you’re renting or simply want to try something different without making permanent changes.
Skip it if…
Your window already has enough privacy.
Adding decorative film just because it looks nice usually doesn’t change the overall appearance of the room very much. Most visitors won’t notice the pattern unless they’re standing close to the glass.
If privacy isn’t an issue, your money will usually have a bigger impact elsewhere.
DIY Window Grids: They Can Look Amazing… or Obviously Fake
You’ll find plenty of videos showing how peel-and-stick grids can transform plain windows into something that looks custom-made.
Sometimes they really do.
Other times they end up looking like black tape stuck across the glass.
The difference usually isn’t the product.
It’s the type of window you’re working with.
They’re worth trying if…
- You have large windows with wide glass panels.
- Your home has a farmhouse, traditional, colonial, or cottage style.
- The grid pattern matches other windows on the house.
In these cases, the added detail can make plain glass feel more interesting without replacing the entire window.
Skip them if…
You have modern aluminum sliding windows with thin frames.
Adding decorative grids to these windows often creates a style mismatch. Instead of looking custom, they can end up drawing attention to the fact that they’re not real.
A clean modern window usually looks better when it’s left simple.
Should You Paint the Window Trim?
This is one of the most overlooked upgrades because it isn’t exciting.
There’s no new product to install.
No dramatic before-and-after video.
Just paint.
But if your trim has chipped edges, faded color, or years of small dents, repainting it can make the entire window feel cleaner.
Notice the wording.
Cleaner.
Not trendier.
A freshly painted frame doesn’t suddenly make your home look expensive. What it does is remove the signs of age that quietly make the room feel neglected.
Paint the trim if…
- The finish is peeling.
- The color has yellowed over time.
- You’re already repainting the living room.
Skip it if…
The trim is still in good condition.
Painting perfectly good trim just because you’re bored rarely gives enough improvement to justify the time.
Don’t Replace Curtains Just Because They’re Old
Here’s something most decorating articles don’t tell you.
Curtains don’t have an expiration date.
If they still fit the window properly, aren’t faded, and hang nicely, you probably don’t need to replace them.
A quick wash, a steam to remove wrinkles, and better hardware can make existing curtains look surprisingly fresh.
That’s money you can put toward an upgrade that actually changes the room.
The Biggest Budget Mistakes Homeowners Make
Sometimes improving a window isn’t about buying the right thing.
It’s about avoiding the wrong thing.
Here are a few mistakes that waste money more often than people save it.
Buying Short Curtains Because They’re Cheaper
Short curtains might save a little money at the store, but they usually make the window look smaller.
If longer curtains are outside your budget today, it’s often better to wait than buy a size you’ll want to replace later.
Buying Curtains Before Measuring
Ready-made curtains aren’t one-size-fits-all.
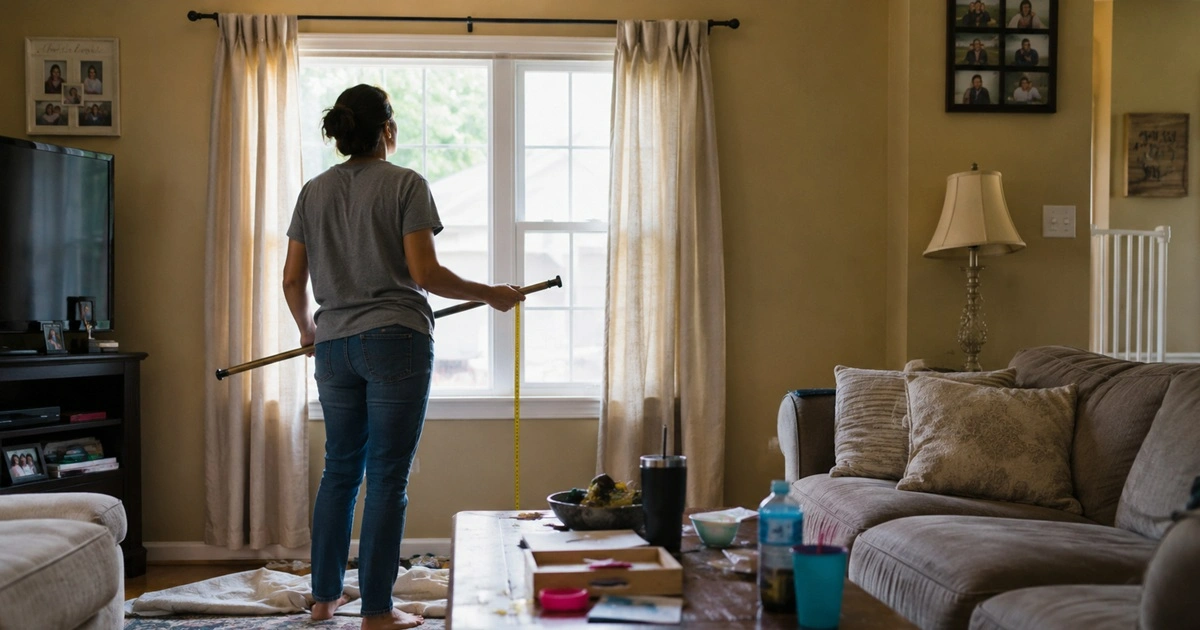
Measure the width of your window, decide where the curtain rod will go, and then buy the fabric.
Doing it the other way around often leads to curtains that don’t cover the window properly or look too small once they’re hung.
A few minutes with a tape measure can save you from buying a second set later.
Filling the Window With Decorations
Plants.
Hanging signs.
Small shelves.
Suncatchers.
Family photos.
Each one might look nice on its own.
Put them all around the same window, and suddenly the room feels busy.
Your window should be the source of light, not another display shelf.
If you enjoy decorating, try choosing one feature to stand out instead of several competing for attention.
Ignoring the Outside View
Most homeowners only think about how the window looks from inside.
Take a walk outside and look back at your living room.
Are the curtains hanging evenly?
Can you see bent rods or crooked panels?
Does one side look fuller than the other?
Small issues become much easier to notice from outside because you’re looking at the whole window instead of focusing on one detail.
It’s a simple habit, but it’s one that decorators and home stagers use all the time before putting a house on the market.
One Last Question Before You Spend Any Money
Ask yourself this:
“If I fix this one thing, will anyone actually notice?”
If the answer is yes, it’s probably worth doing.
If the answer is “not really,” save your money for an upgrade that changes how the entire room feels instead of one tiny detail that only you will notice.
That’s how you stretch a decorating budget without feeling like you settled for less.